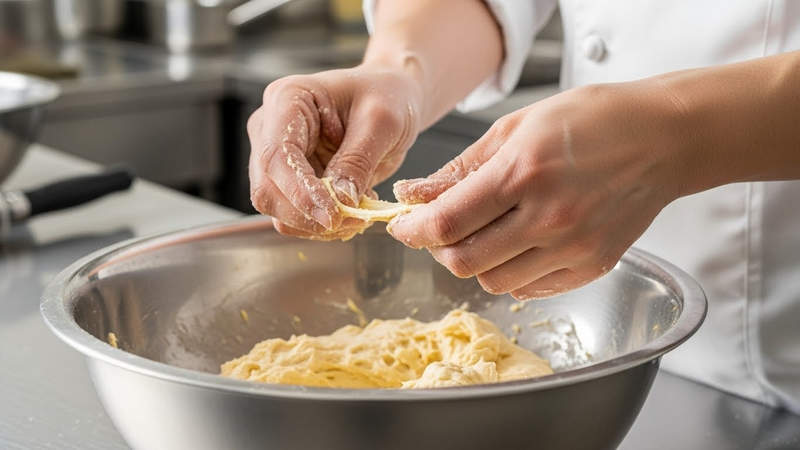
Ever wondered why some croquettes emerge from the fryer perfectly intact, their golden crust cradling a tender filling, while others crumble at the slightest touch? The secret lies not just in the filling, but in the meticulously prepared crepe, designed for resilience.
The Foundation: Engineering a Robust Croquette Batter
A croquette demands a crepe batter with exceptional elasticity and strength, far exceeding that of a standard pancake. This enhanced durability ensures the crepe withstands the rigors of rolling, breading, and the intense heat of deep-frying without tearing or splitting.
Essential components for structural integrity
The precise blend of ingredients forms the backbone of a resilient croquette crepe. Each component plays a specific role in achieving the desired texture and pliability.
| Ingredient | Quantity | Purpose |
|---|---|---|
| Wheat flour (Type 450-550) | 250 g | Provides structure and gluten network. |
| Milk | 400-450 ml | Hydrates flour, contributes to tenderness and flavor. |
| Eggs | 2 large | Binds ingredients, adds richness and elasticity. |
| Carbonated water | 50-100 ml | Introduces micro-bubbles for lightness and extensibility. |
| Salt | 1/2 teaspoon | Enhances flavor, strengthens gluten structure. |
| Vegetable oil | 2 tablespoons | Lubricates gluten, increases pliability, prevents sticking. |
The alchemy of liquid-to-flour ratios
Achieving the correct consistency is paramount. A croquette batter must be notably thicker than a typical pancake batter, allowing the finished crepe to possess greater inherent strength. This increased viscosity ensures the crepe can encapsulate its filling without succumbing to structural weakness. The addition of carbonated water is a professional nuance; its effervescence introduces microscopic air pockets throughout the batter. As these bubbles expand during cooking, they create a lighter, more extensible crepe that resists tearing when folded and fried. Incorporating vegetable oil directly into the batter, rather than relying solely on pan lubrication, further enhances elasticity. The fat molecules intersperse with the gluten network, preventing excessive gluten development and yielding a more tender, pliable crepe that folds without cracking.
The critical resting period for gluten relaxation
All batter ingredients should be at room temperature before mixing, promoting a smoother, lump-free blend and optimal gluten hydration. The mixing technique begins by thoroughly combining dry ingredients, then gradually incorporating the liquids. Pouring liquids in small increments while vigorously whisking prevents the formation of stubborn lumps, ensuring a uniformly smooth batter. The final consistency should flow like a thick, velvety ribbon, fluid but not watery. A batter that is too thin will yield fragile, brittle crepes, while an overly thick one will be difficult to spread evenly across the pan.
Once mixed, the batter requires a minimum rest of 30 minutes, ideally 1 to 2 hours, at room temperature. This resting phase is not merely a pause; it allows the gluten strands, which have become taut during mixing, to relax and unwind. As gluten relaxes, the batter becomes more pliable and less resistant, translating into crepes that are significantly more elastic and less prone to tearing during subsequent handling.
From Pan to Plate: Mastering the Croquette’s Journey
The journey from a fluid batter to a golden, crisp croquette involves precise techniques at every stage, from the initial crepe formation to the final frying.
Optimal pan temperature for flawless crepe formation
The temperature of the frying pan is a critical determinant of crepe quality. A pan that is too cool will cause the batter to adhere, resulting in uneven cooking and potential tearing. Conversely, an excessively hot pan will scorch the crepe before it has a chance to set properly. The ideal temperature is reached when a small drop of batter immediately sizzles and sets, but does not rapidly brown or burn. Utilizing a thick-bottomed pan is advantageous, as it distributes heat evenly across its surface, preventing hot spots that can lead to unevenly cooked crepes. Before each crepe, lightly grease the pan with a minimal amount of fat, ensuring a non-stick surface without excess oil.
When frying crepes for croquettes, cook them only on one side. This technique ensures that one side remains slightly less cooked and therefore more pliable, facilitating easier rolling and reducing the risk of cracking during the breading and final frying stages. Flip the crepe only when its top surface has visibly set and is no longer liquid, indicating sufficient structural integrity for turning.
The art of filling and precise rolling
Before filling, ensure the chosen filling is cool. This prevents the crepe from becoming soggy or tearing due to steam. Portion the filling judiciously; approximately 2-3 tablespoons for a medium-sized crepe strikes the right balance, allowing for a substantial interior without overfilling, which could lead to bursting.
The rolling technique is crucial for a tightly packed, structurally sound croquette:
- Initial Fold: Begin by folding the side edges of the crepe inward, roughly 2 centimeters from each side, creating a neat, enclosed edge.
- Bottom Roll: Place the filling near the bottom edge of the crepe. Fold the bottom portion of the crepe over the filling, gently pressing to secure it.
- Continuous Roll: Continue rolling the crepe upwards, maintaining moderate tension throughout the process. A roll that is too loose will result in a croquette that falls apart during frying, while one that is excessively tight may cause the crepe to burst as it expands.
Achieving the ultimate golden crisp: Breading and frying
After rolling, the croquettes are ready for their protective, crisp coating. The breading process requires careful execution: first, dip each croquette into a bowl of whisked egg, ensuring it is fully coated. Next, transfer it to a plate of fine breadcrumbs, gently pressing the crumbs onto the surface to create an even, adhesive layer. This double layer forms a barrier that locks in moisture and provides the characteristic crisp texture.
For frying, heat oil to a medium temperature. Place the breaded croquettes into the hot oil, ensuring not to overcrowd the pan, which would lower the oil temperature and result in greasy croquettes. Fry them, turning every 1-2 minutes, until they achieve a uniform, shimmering golden-brown hue on all sides. This golden crust is the result of the Maillard reaction, a complex chemical process that develops rich flavors and an appealing visual finish.
Preserving perfection: Storage and reheating strategies
Properly prepared croquettes can be stored in the refrigerator for up to 48 hours, or frozen for longer preservation. When reheating, the oven is the preferred method. Baking them at 180°C (350°F) for 10-15 minutes will revive their crisp exterior and heat the filling thoroughly, without the risk of the crepe becoming soggy or tearing, a common issue when reheating in a microwave. The dry, circulating heat of the oven ensures the crust remains shatteringly crisp, mimicking their freshly fried state.